How to Make Custom Bumper Stickers From a Historic Club Design
The practical answer to how to make custom bumper stickers is to settle the intended location first, rebuild the design as clean production artwork, choose a film made for exterior vehicle graphics, and test one copy before ordering a stack for the whole club. On a Corvette, “bumper sticker” usually means a small graphic on a painted rear fascia, glass panel, or another carefully chosen surface—not an invitation to stick unknown adhesive anywhere it fits.
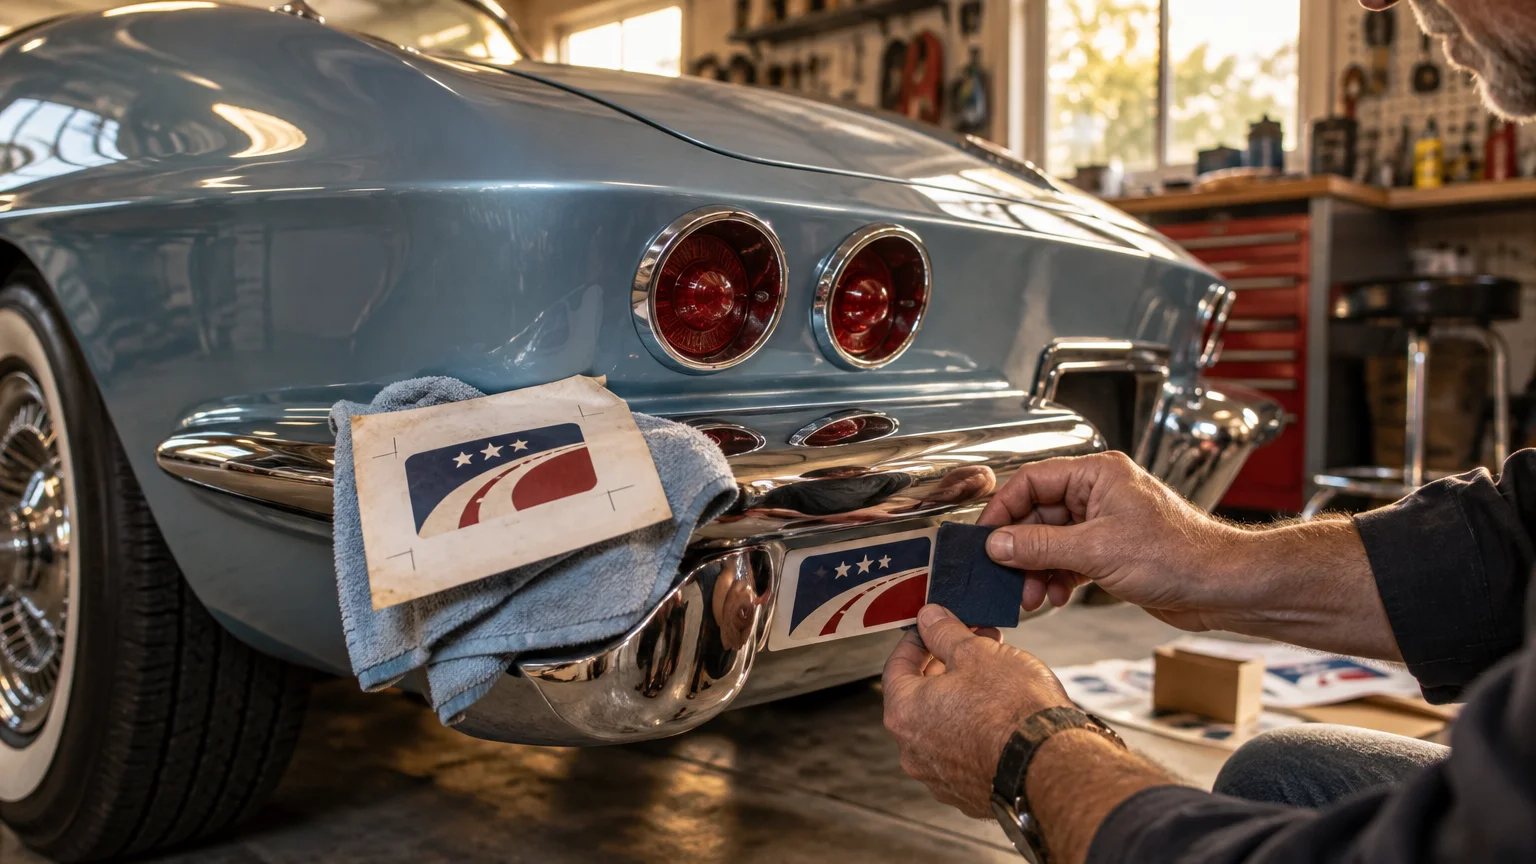
A historic club design deserves an extra step. Preserve the original scan, record where the item came from, and confirm that you have permission to reproduce the artwork. Then create a separate production file rather than cleaning up the only archival copy. That approach produces a better sticker while retaining the scratches, handwriting, faded ink, and other details that make the original artifact meaningful.
Plan the sticker around its actual location
Measure the usable area on the specific car instead of guessing from a computer screen. Check the panel’s curves, nearby seams, parking sensors, badges, exhaust heat, and the distance from which the message must be readable. A detailed old cruise emblem may look wonderful at eight inches wide and become an indecipherable knot at three inches.
Before designing, write down six decisions: intended surface, finished dimensions, viewing distance, expected duration, quantity, and whether the sticker must reproduce a historic artifact faithfully. If the project is for an event, also decide whether participants will apply it to their cars, toolboxes, coolers, or display boards. One design and adhesive may not suit every destination.
| Project | Suitable starting format | Main concern |
|---|---|---|
| Exterior vehicle decal | Printed exterior vinyl, with compatible laminate when specified by the producer | Paint condition, weather exposure, removal risk, and readable size |
| Simple club lettering | Die-cut colored vinyl | Thin strokes and small pieces can be difficult to apply |
| Temporary window identifier | Static cling or another product intended for interior glass | Confirm which side faces outward and whether tinted glass affects visibility |
| Event giveaway | Individually cut printed stickers | Choose a useful general-purpose size rather than assuming every recipient wants it on a car |
| Historic reproduction | Printed vinyl made from documented, redrawn artwork | Preserve the source scan and label the new piece as a reproduction |
Prepare historic artwork without erasing its story
Start with the best available original. Scan a paper sticker, newsletter emblem, or photograph at a sufficiently high resolution for careful inspection, and save that untouched scan before editing. Record the owner, approximate date if known, event name, physical dimensions, colors, inscriptions, and where the object was found. Mark uncertain details as uncertain rather than turning a guess into club history.
Next, rebuild the production artwork. Vector files are especially useful for lettering, borders, and simple emblems because they can be resized without making the edges visibly blocky. Retain a high-resolution raster image when photographs, shading, or aged textures are essential. Keep important lettering away from the cut line, simplify tiny details, and print the design on ordinary paper at finished size. Tape that proof near the intended location and step back several feet.
Do not assume that an old Chevrolet emblem, Corvette mark, club logo, photograph, or event graphic is free to reproduce merely because a physical copy survives. The USPTO explains that trademarks identify and distinguish the source of goods or services, which is one reason to establish who controls a name or logo before producing new copies. The USPTO’s trademark overview provides useful background. If permission or ownership cannot be established, create fresh artwork inspired by the event’s era rather than tracing a protected mark.
How to make custom bumper stickers with the right material
Simple one-color lettering is a natural candidate for die-cut vinyl. A multicolor rally emblem, anniversary graphic, or illustrated cruise route usually calls for printed vinyl. For an exterior application, ask whether the print system and film are intended for vehicle use and whether a compatible protective laminate is recommended. Do not rely on the vague word “vinyl”; construction, adhesive, finish, and application instructions differ among products.
Air-release and pressure-activated adhesives are available on some vehicle graphic films. For example, 3M describes those features for a particular Controltac film, but one product specification does not prove that the same film is right for every small decal or painted surface. Obtain the exact film name and its technical instructions from the producer before applying it to a valued finish.
A home cutting machine can handle prototypes and uncomplicated lettering. A local sign shop is useful when someone needs to inspect a curved panel, review questionable paint, or help with placement. Once the dimensions, material, artwork, and quantity are settled, ordering professionally printed custom bumper stickers can be the simpler route for a run of matching event or club graphics. Order one or a small proof batch first whenever color, cut shape, or scale remains uncertain.
For a broader explanation of decal formats before placing an order, see how to choose a vinyl decal for a club reproduction. If the graphic belongs to a larger show package, coordinate its date, typography, and colors with the event’s collectible dash plaque design rather than creating two unrelated souvenirs.
Inspect the car before applying anything
Apply a vehicle graphic only to a clean, sound surface that is suitable under the selected film’s instructions. Chips, rust, dents, and questionable repaint work deserve particular caution. Avery Dennison’s vehicle-graphics guidance warns that these conditions can increase the possibility of paint damage during removal. Its vehicle graphics application guidance is a useful technical starting point, although the instructions for the exact product being installed should control.
- Inspect the entire placement area under good light. Stop if the paint is lifting, cracked, rusty, recently repaired, or of uncertain condition.
- Wash the panel and dry it completely. Then follow the film manufacturer’s instructions for final surface cleaning; do not improvise with a strong solvent.
- Position the paper proof or decal with low-tack tape. Confirm that it is level from normal viewing distance, not merely from a few inches away.
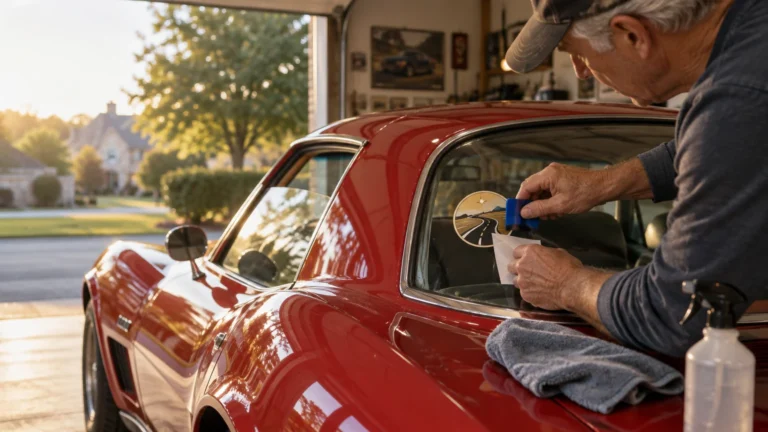
- Peel and apply the decal gradually, using an appropriate squeegee and working method for that film. Move steadily from the anchored area outward rather than dropping the whole adhesive face onto the panel.
- Inspect the edges and any remaining bubbles without aggressively puncturing or reheating the material. Follow the supplier’s post-application instructions before washing or driving in severe weather.
Choose a lawful, low-risk position
Keep any decal out of the driver’s necessary sightlines and completely clear of the registration plate. Pennsylvania’s official vehicle statutes are the controlling source for current requirements concerning vehicle equipment and registration plates. Rules can change, so review the current text before distributing placement instructions at a club event.
Good placement is also considerate of the car. Avoid parking sensors, lights, vents, panel seams, hot exhaust areas, and places where shoes or luggage repeatedly scrape the surface. If retaining original paint matters more than displaying the sticker, use a removable show board, magnetic display only on a confirmed compatible metal surface, or an interior-glass product designed for that purpose.
Care for the decal and preserve the project record
Dirt, contaminants, heat, and ultraviolet exposure can degrade applied graphic films, so regular, gentle cleaning matters. Avery Dennison recommends cleaning vehicle graphics regularly and addressing contaminants rather than allowing them to remain on the film. Avoid directing aggressive pressure at an edge, and use cleaning products and methods approved for the selected film.
Keep a small archive folder after the stickers arrive. Include the untouched source scan, edited production file, proof, final dimensions, printer invoice, film description, permission notes, order date, and photographs of an installed example. Label the modern decal as a reproduction and store one unused copy flat in a protective sleeve. Years later, those details may be as valuable as the sticker itself.
Make one careful proof before making fifty
A successful historic bumper sticker combines five things: legible artwork, documented permission and provenance, a material appropriate for the intended surface, sound paint, and responsible placement. Begin with one full-size paper proof, then order or produce one real sample. Check it on the car in daylight before committing to the club run. That modest pause can prevent a misspelled date or crowded emblem—and leave future Corvette enthusiasts with a reproduction whose story is still attached.
References
- What is a trademark? | USPTO
- 3M™ Controltac™ Graphic Film with Comply™ Adhesive 180mC-22, Matte Black, Configurable Roll | 3M United States
- Printing, Processing and Application Instructions for
- Chapter 45. – Title 75 – VEHICLES
- Chapter 13. – Title 75 – VEHICLES
- IB1.50 Cleaning and Maintenance for Vehicle Wraps