How to Inspect Corvette Weatherstripping Before Spring Rain
TLDR: A Corvette weatherstrip spring inspection should begin with clean, dry seals and a careful search for tears, hard spots, flattened sections, loose corners, old adhesive, and gaps in the contact pattern. Do not order a complete seal kit merely because water appeared inside the car. First isolate the entry point with a controlled low-pressure water test. On applicable C5 and C6 rear lift-window panels, “weatherstrip spring” may refer to retaining spring clips rather than the rubber itself, so verify the repair against information for the exact model year.
Spring rain has a talent for finding the one seal that looked acceptable in the garage. A methodical Corvette weatherstrip spring inspection takes less time than removing wet carpet, drying storage compartments, or chasing an electrical problem caused by unnoticed moisture. The useful approach is simple: inspect first, test one area at a time, and separate a failed seal from a panel, glass, latch, drain, or retaining-hardware problem.
GM Genuine Parts recommends regular inspection of lift-off roof weatherstrips and identifies incoming moisture and deteriorated material as signs of wear or damage. That is sound guidance beyond any single generation, but the construction, attachment method, and approved service products vary considerably among Corvettes. Consult the owner manual or service information for your year and body style before adjusting panels or applying chemicals.
A 10-minute Corvette weatherstrip spring inspection
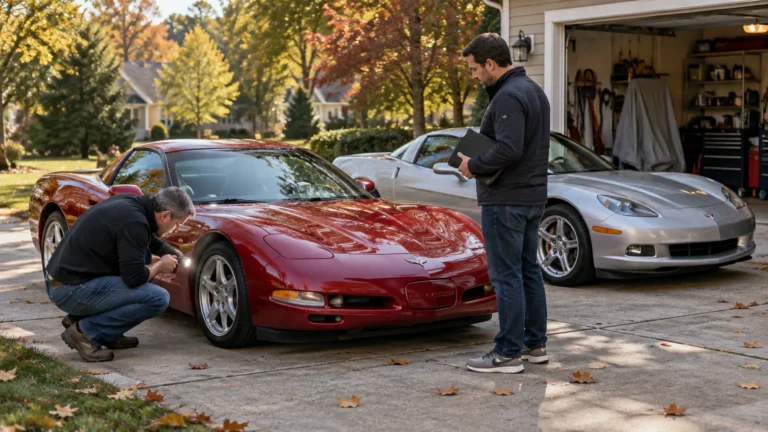
Park the car in bright, indirect light and open the doors, hatch, deck lid, and removable roof as applicable. The seals should be dry enough that dirt or water does not hide a split. Use a flashlight rather than relying on garage lighting, especially around upper door corners and deep hatch channels.
| Inspection point | What to look for | What it may mean |
|---|---|---|
| Rubber surface | Cuts, cracks, missing material, chalky areas, or hardened sections | Physical deterioration may justify replacement of the affected seal. |
| Seal shape | Permanent flattening, waves, shrinkage, or corners pulling away | The seal may no longer maintain even contact. |
| Attachment | Loose ends, lifted channels, failed adhesive, or displaced retainers | The seal may be reusable if it remains sound, but the attachment method must be verified. |
| Contact pattern | One section appears untouched while neighboring rubber is compressed | Panel, glass, latch, or seal alignment may be uneven. |
| Interior evidence | Damp carpet, water marks, staining, odor, or moisture in rear compartments | The location shows where water collected, not necessarily where it entered. |
| Driving symptoms | New wind noise, a whistle, or increased road noise near an opening | Possible loss of contact, although panel or glass fit can produce similar symptoms. |
| C5/C6 lift-window retention | Missing, bent, loose, corroded, or disengaged spring clips where equipped | The weatherstrip flange may not be properly retained; verify year-specific construction. |
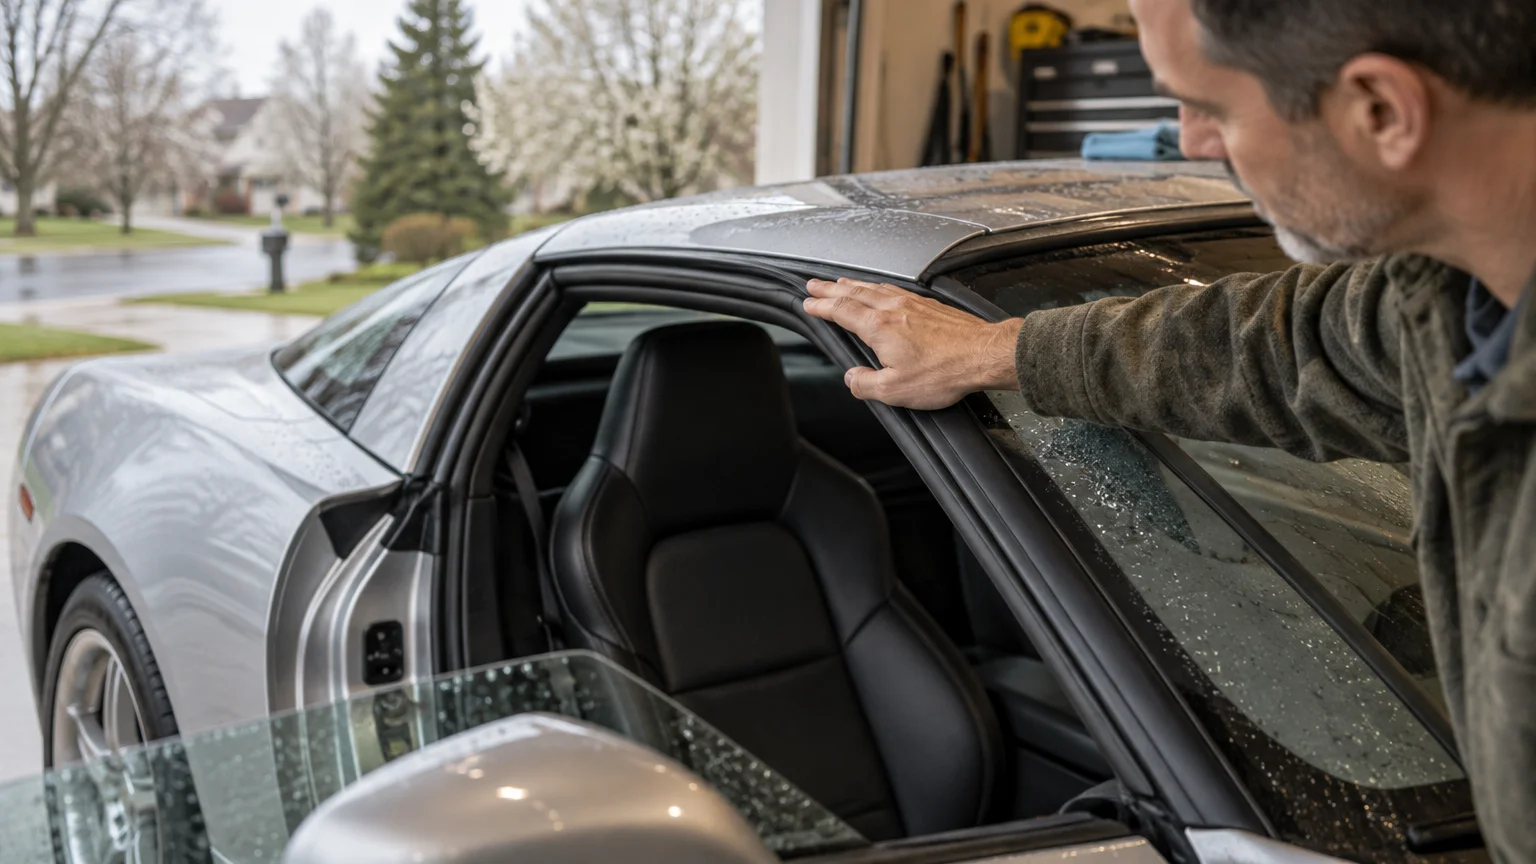
Run your fingers gently along each seal. Serviceable material should remain continuous and flexible enough to follow its channel, but feel alone is not a definitive test. Compare suspicious sections with nearby areas of the same seal. A corner that is noticeably harder, lower, or less resilient than the rest deserves attention.
Look at the mating surface too. A perfectly respectable piece of rubber cannot seal against dirt, wax buildup, an incorrectly seated roof panel, or glass that does not meet it evenly. Check for witness marks—the faint, continuous line showing where the rubber touches the opposing surface. An unexplained break in that line can be more useful than a general impression that the seal “looks old.”
Clean before deciding that a seal has failed
A light layer of grime can conceal a small tear or keep two surfaces from meeting properly. Clean only with materials appropriate for the weatherstrip and surrounding finish on your Corvette. Avoid assuming that a household solvent, petroleum product, or universal rubber treatment is safe. Dry the area fully, inspect it again, and make a note of every questionable location before applying any conditioner or adhesive.
The current 2025 Chevrolet Corvette Owner Manual lists ACDelco Dielectric Silicone Grease for weatherstrip conditioning. Owners of that model can check the relevant directions in the 2025 Corvette owner manual. That listing should not be treated as a universal recommendation for every earlier generation: compounds, finishes, seal materials, and factory procedures changed over the Corvette’s long production history.
Restoration work calls for the same year-specific discipline. GM’s 1970 Corvette chassis material directs technicians to remove dirt, loose paint, and old cement before weatherstrip installation and to use an adhesive suitable for weatherstripping. That dated instruction is useful for understanding the importance of surface preparation on a C3-era project, not as a blanket installation procedure for later cars.
Find the actual leak with a controlled water test
Water inside the footwell or rear compartment often travels along trim, glass, a cable, or a body channel before it drips. The wettest point is therefore not always the entry point. Resist the temptation to spray the entire roof and hatch at once; that may confirm that the car leaks without showing why.
Corvette Central’s C4-oriented guidance describes a practical owner-level test: have a helper watch from inside while water is applied low on the car and then moved progressively upward. It also describes using powder to examine the seal’s contact pattern. These are diagnostic techniques rather than universal factory procedures, so use care around interior trim and confirm model-specific precautions.
- Remove loose items from the cabin and rear storage areas. Protect vulnerable electronics and place clean absorbent towels where they will reveal the first drops.
- Have a helper sit inside with a flashlight. Keep a door or another safe exit available; do not lock anyone in the car.
- Begin with a gentle flow of water at the lowest suspected area. Do not start with a pressure washer or force water directly into a seam.
- Hold the test at one small section long enough for your helper to observe it, then move gradually upward. Test the roof, glass, door, and hatch boundaries separately.
- When water appears, stop and mark both the drip location and the exterior area being tested. Remember that the path between them may not be straight.
- Dry the area and correct only one suspected cause at a time. Retest the same section before moving on. This prevents several simultaneous changes from hiding the real fault.
If the leak occurs only while driving, the cause may involve airflow, body movement, drainage, or pressure that a stationary hose test does not reproduce. Wind noise can likewise come from glass or panel alignment rather than failed rubber. Roof, hatch, and door adjustments can affect fit elsewhere, so trial-and-error movement is rarely the best first repair.
Reseat, condition, or replace?
Conditioning is maintenance, not reconstruction. It may be appropriate when the weatherstrip is intact and the product is approved for the particular car. It will not restore missing rubber, close a torn corner, reverse severe shrinkage, or repair a permanently crushed sealing surface.
Reseating or correcting attachment may be reasonable when the rubber remains supple and undamaged but has escaped a channel, lifted at a corner, or failed to engage its intended retainer. Before using adhesive, determine whether that section was designed to be bonded, clipped, pressed into a channel, or installed by another method. Adhesive placed where it does not belong can make the eventual correct repair harder.
Replacement becomes the stronger option when inspection reveals a tear through the sealing surface, missing material, extensive cracking, hard and inflexible rubber, severe permanent compression, or shrinkage that prevents proper coverage. Repeated water entry after verified seating and fitment also warrants deeper diagnosis. Order by exact model year, body style, opening, and position rather than relying only on a broad generation label.
What “weatherstrip spring” means on some C5 and C6 cars
The literal phrase “weatherstrip spring” can point to hardware rather than seasonal maintenance. A service procedure using 2008 Corvette terminology describes left- and right-side retaining spring clips on the rear lift-window panel. During installation, the weatherstrip flange must engage those clips. This is a specific rear-panel arrangement and should not be presented as hardware found on every Corvette.
Where that construction applies, inspect the clips without forcing the glass or panel. Look for a clip that is missing, loose, bent, corroded, displaced, or no longer capturing the weatherstrip flange. Also inspect the corresponding flange for damage. A good rubber seal that is not retained correctly can imitate failed weatherstripping; conversely, a sound clip cannot compensate for torn or badly shrunken rubber.
The available procedure is a service-manual archive rather than GM’s current service-information interface, so confirm clip placement, panel handling, fasteners, and replacement steps against year-specific GM information before disassembly. The C5 and C6 labels cover multiple years and configurations, and a 2008 procedure should not automatically be applied to every coupe or lift-window assembly.
Know when to stop and get experienced help
Professional or experienced model-specific help is sensible when diagnosis involves bonded glass, electrical modules, wet wiring, persistent mold or odor, structural fasteners, panel alignment, or trim that must be removed without damaging old clips. The same applies when a removable roof or lift-window panel resists normal installation. Extra force is not a diagnostic tool.
After the seals pass their test, include the result in your broader Corvette road trip checklist. If the first spring outing is a judged event, complete the leak test before following the Corvette car-show preparation checklist; water trapped in jambs and channels has a habit of emerging after the detailing towels are packed away.
Make the inspection part of spring Corvette life
In the Lehigh Valley, the best time to find a weak seal is on a dry day in the garage—not after a shower catches the cruise line between Easton and the next stop. Write down the locations you checked, photograph questionable corners, and record any product or part number used. Those small notes help with future maintenance and preserve useful ownership history for whoever cares for the car next.
The practical next step is to choose one dry afternoon before the season’s first long drive. Clean and inspect every opening, check the C5/C6 retaining clips only where that design applies, and perform a patient low-to-high water test. Repair the demonstrated fault rather than replacing parts by guesswork. A quiet cabin and dry carpet may not draw a crowd at a show, but they make it much easier to keep an older—or newer—Corvette on the road.
References
- GM Genuine Parts Roof Lift Off Panel/Window Rear Weatherstrip Retainer | 23429077 | Chevrolet Parts
- 2025 Chevrolet Corvette Owner Manual
- pages
- Weatherstrip 101 for C4 Corvettes – Corvette Central Tech Blog
- Rear Lift Window Panel Weatherstrip Replacement — 2008 Chevrolet Corvette V8-6.2L Service Manual | Operation CHARM